

Working in the editor
The agent editor is a canvas holding the flow, a left panel with the Nodes, Agent variables, Settings and Issues tabs, and an inspector for the selected node on the right. This page covers what helps you build, check and publish a flow: the toolbar, saving and publishing, document search, copying nodes, variables, the issues tab and testing. What each node does is on Flow nodes; the Settings tab is described in Agent settings.The toolbar
The toolbar is one row, from left to right:- the left panel toggle, Back to Agents and the agent name;
- the Dialogue / Pipeline switch in the centre — the pipeline is described in Pre- and post-call functions;
- the Find in document icon and the More menu (⋯) with Share, Import and Export;
- the save state, Save and Publish vN with the arrow menu next to it;
- the Test and Copilot buttons and the inspector toggle.
Saving and publishing
The draft is saved automatically. While there are unsaved changes, the toolbar shows ● unsaved changes and a Save button; once everything is stored, it shows Saved · date instead. ⌘S / Ctrl+S saves at once from anywhere in the editor, including a text field, and works with any keyboard layout. Publish vN opens the publish dialog. It has a schema row — No schema errors or N schema errors: until the errors are fixed the publish button is inactive, with Show errors next to it — and a row for the agent’s scenario check (see Testing an agent): if the check has failed, the button reads Publish anyway. The What changed field takes a note for the version history. Unsaved changes are saved first; if that fails, nothing is published and the editor says why. The arrow next to the button opens a menu. Its header shows the live version and whether the draft differs from it. The items:- Publish with a note… — opens the same publish dialog;
- Version history;
- Discard changes — back to vN — returns the draft to the published version after a confirmation.
Searching the agent document
The Find in document icon in the toolbar opens a floating search panel above the canvas. Cmd/Ctrl + F does the same. The component editor has the same button in its own header. The results fall into three tabs under the query field:- Nodes — node names, prompts, transition conditions, authored node fields, then the pipeline functions.
- Values — the global prompt, post-analytics fields (name, extraction instruction, choices; also when analytics is off, marked “off”) and agent variables (name and default value); in the component editor, the component prompt.
- Settings — settings found by their on-screen label: the Settings tab, the Quality & integrations and Additional settings windows, the answering machine detection and call screening dialogs.
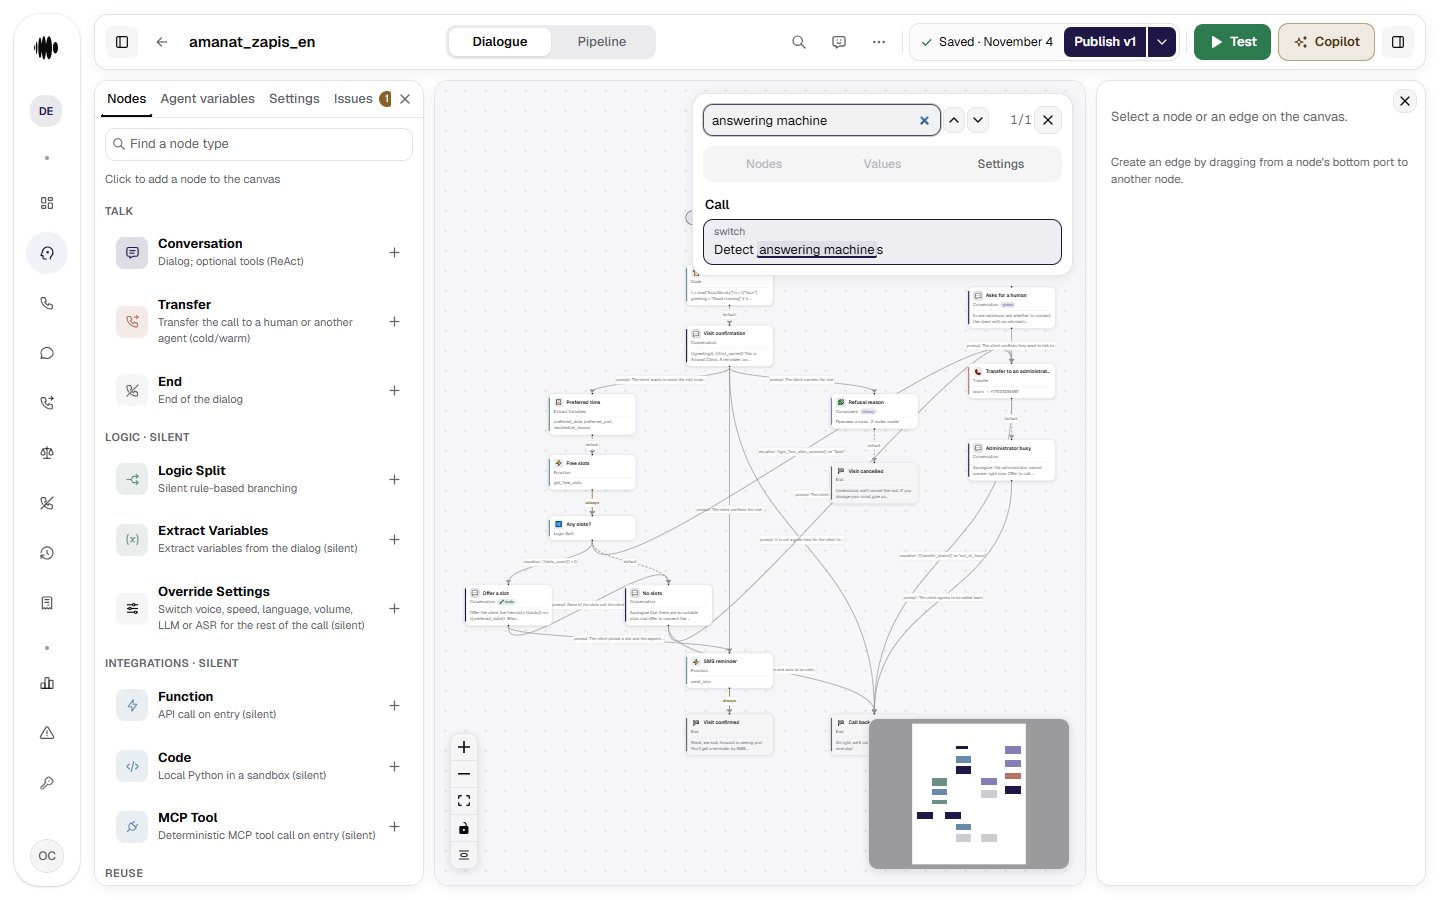
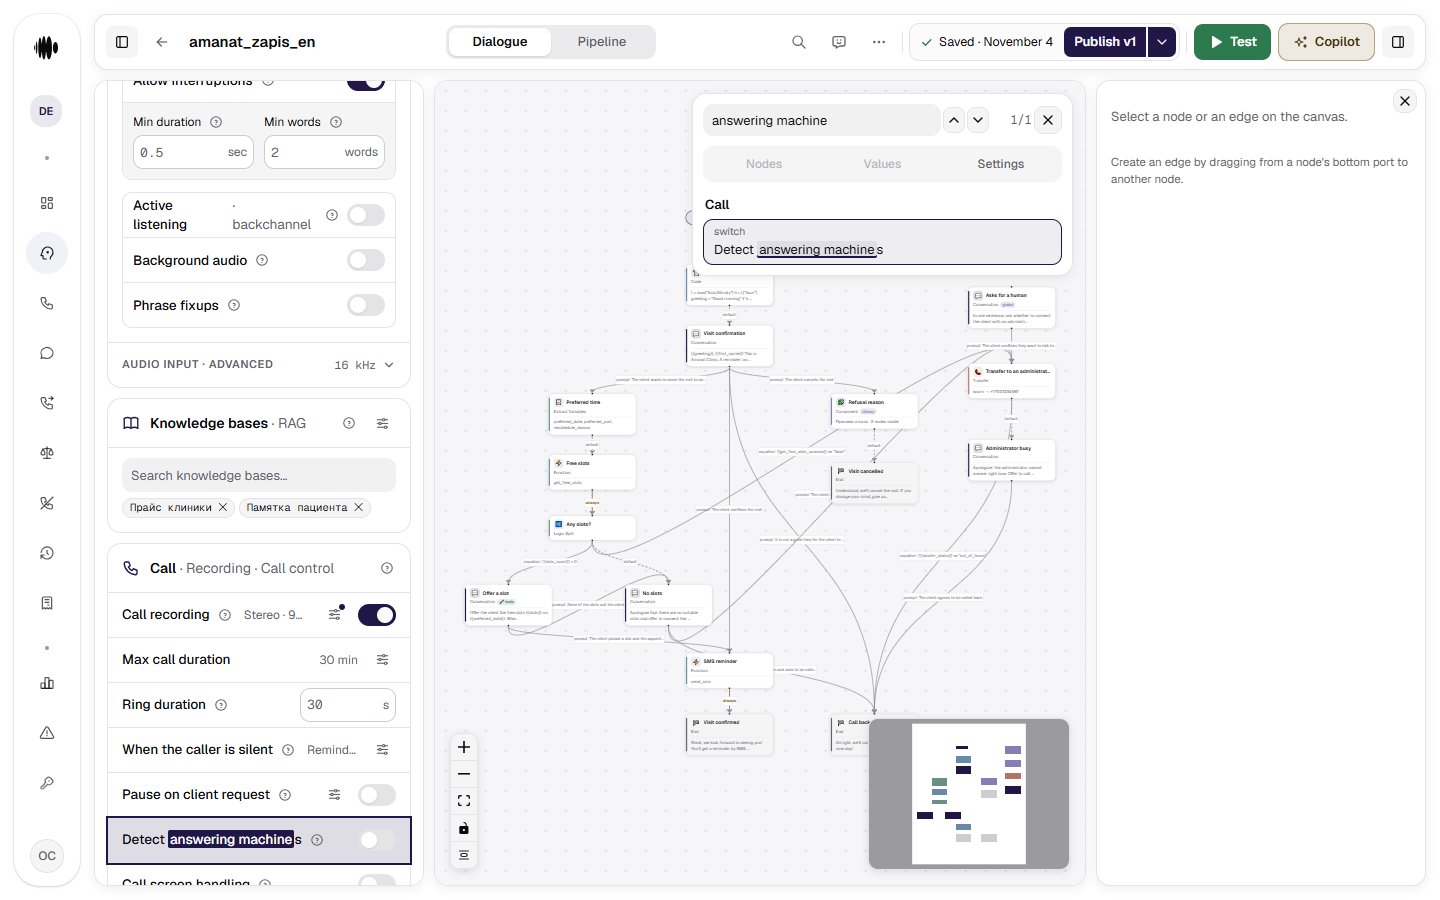
Cmd/Ctrl + F yields to input fields. If the cursor sits in a prompt, in any text field or in the code editor, the shortcut goes to that field — you get the browser’s own find rather than the panel. This is deliberate: inside a long prompt the author expects a search of that prompt. Click the canvas to drop the focus, or use the toolbar button.The browser’s find cannot replace this: it only sees the short previews on the cards and cannot pan the canvas to what it found.
Copying and pasting nodes
The node selected on the canvas is copied with Cmd/Ctrl + C and pasted with Cmd/Ctrl + V. The copy lands at the cursor; if the cursor has left the canvas, it lands in the centre. There is no intermediate menu — the paste happens straight away. One node at a time: the one that is selected. Copying goes through the system clipboard, so a node travels between tabs and between agents: build a node with its prompt, tools, knowledge bases and timers on one agent, then paste it into another instead of retyping the fields. The name of the copy. A non-empty name gets(Copy) appended: Ask → Ask (Copy). If that name is taken, the next free one is used — (Copy 2), (Copy 3) and so on. There is always exactly one (Copy) in the name, and the name is always free: no two nodes in a document may share one. An unnamed node stays unnamed.
Connections. Outgoing transitions survive when their targets exist in the document you paste into. No incoming transitions are created: the copy lands beside the graph and you wire it up yourself, the same way you would a node from the palette. Pasting into another agent usually finds no targets, so the copy arrives with no connections at all.
What cannot be copied. Begin and Exit. Inside the component editor you can paste neither another component nor a node type that has no place in a component body. While a Copilot proposal is on the canvas, a paste is refused as well — accept or dismiss the proposal first. In every case the cabinet says why.
A paste cannot be undone — delete an unwanted copy with Del.Cmd/Ctrl + C and Cmd/Ctrl + V yield to input fields, by the same rule as the search: if the cursor sits in a prompt, a text field or the code editor, the shortcut goes to the field. Cmd/Ctrl + V with unrelated text in the clipboard does nothing on the canvas and reports nothing.
Agent variables
An agent can hold variables that carry data from one node to another. The Agent variables tab lists them:{{name}}, the default value and the signature mark. The tab is read-only; the copy button next to a variable copies {{name}} for pasting into a prompt.
Variables are edited in the Agent variables window. Open it with Manage or + Variable on the tab. Each row has a Name, a Default value and an In signature checkbox. Save writes the changes to the draft; a row with an empty or duplicate name blocks saving until you fix it.
Variables keep what the conversation produced and what the agent’s actions returned. They can be used:
- in node instructions and prompts, for example
{{customer_name}} - in Function and MCP Tool parameters
- in the output of Code and Extract Variables
- in Logic Split transition conditions
- in Conversation and End messages
- in webhook notifications and post-call analytics
The agent’s signature: variables from the contacts file
Each variable in the Agent variables window has an In signature checkbox. Tick it on the variables that must arrive as a column of the contacts file — together they form the agent’s signature; on the tab they carry the signature mark. Unticked variables are the flow’s working variables: state the agent fills in itself, constants with a default value. They are never checked against the file. Only a declared agent variable can be ticked.- The launch check compares only the signature with the file. A signature variable with no matching column blocks the campaign launch — see Review and launch. The campaign is always checked against the agent’s current published version.
- The signature is part of the agent. Publishing freezes it together with the version, and every change to it is written to the audit log. It is edited by the same people who edit the agent — an administrator or a developer.
- An existing agent starts with an empty signature. Until someone ticks its variables, the launch check does not compare that agent’s variables with the file columns at all.
Variables every call starts with
Ten variables are seeded at the start of every call, before the agent’s first word, so a prompt, a transition condition or a Function parameter can use them straight away. The condition builder and the substitution hints offer them like any other variable.
Numbers arrive as digits only, with no
+ and no separators — format them in a Code node before the agent reads one back to the caller. What the call itself knows overrides the default value of the agent variable; values passed by the Web API or mapped from a SIP header are applied after that and win over both. A contact-file column named after one of these variables does not reach the call. The chat tester has no call behind it: the numbers keep their default values from the agent variables and stay empty without one; direction without a default is web.
The date and time of the call
Seven more variables carry the date and time of the conversation itself. The platform computes them — they do not belong in the contact file.
Which zone the date is computed in. The platform takes the first that applies: the contact’s own day, when the campaign dials in the contact’s local time; otherwise the zone chosen for display; otherwise the organization’s zone; otherwise UTC. A zone that cannot be resolved falls back to UTC — and
{{call_timezone}} says UTC, so the miss is visible in the call history.
Do not carry the date as a file column. A value from the file freezes at upload, so on a redial the agent names the day the file was uploaded rather than today. These seven are recomputed on every call, redials included.
Error checking
The Issues tab lists the errors and warnings found in the agent’s settings and flow. The filter on top shows All, Errors or Warnings, each with its count. Findings are grouped by where they are: Node · name, Pipeline · name or Agent. Each finding has a link that takes you to the place to fix: Show on canvas, Open in Pipeline, Open Settings › section or Open Agent variables. Press Re-check to run the check again after making changes. When nothing is wrong, the tab shows ✓ No issues found. Errors block publication, warnings do not. The check looks at more than the graph: on publication, on a campaign launch and when a demo link is created, the platform also builds the same speech recognition and synthesis objects a real call would, and reports a broken provider setup, a missing knowledge base or audio file, and an unpublished transfer destination before the agent goes to work.Test before launch
The Test button in the toolbar opens the test panel. It has two tabs: the mode tab and Scenarios. On the mode tab you talk to the agent yourself. It is named after the open mode — Voice or Chat: the Test button opens a call, and the other mode is picked in the tab’s menu. Both are described below. On Scenarios the platform checks the agent with test conversations itself — see Testing an agent. Run sample dialogues, check that the agent follows the intended path, and fix the prompt and actions if the flow feels wrong. The canvas follows the test: the active node is highlighted as the conversation moves.The chat test
The control row of the chat (the Chat tab):- Run — the green button that starts a session from Begin. Its ▾ arrow holds Run from the selected node — see below.
- the restart and stop icons (Start the session over, Stop the session) — always in place; without a session they are inactive.
- the summary button, for example Draft · rigid · mock. It opens the test configuration: What to test — Draft or Published; Engine mode — rigid or flex; HTTP functions — mock or real. While a session runs the values are read-only. The check with scenarios takes the same What to test choice.